Pages

Bienvenue


Occasionally it seems that world is in pure chaos with nothing making sense, but that doesn't matter as long as I can sew. Sewing is a form of art, or at the very least creativity, and a form of expression. A great outlet for the tension of everyday life. Also you can make cute things. The craft revolution is truly taking place, old skills are being revived by a new generation, but with a seriously modern twist.

I've made Mario pillow cases, a giraffe print background, and turned duvet covers into summer dresses. I enjoy making something unique, special, and me- then I like wearing it and watching it fall to pieces or not fit properly. Then I enjoy (slightly less) fixing it.

One day I shall have a room filled with glorious fabrics and boxes of notions, and on that day I will have found my nirvana. But until then this blog will exist as my virtual haberdashery and sewing room. Hopefully you'll enjoy looking at my creations as much as I enjoy looking at other blogs, and you'll be inspire to make something of your own.

Monday, 19 November 2012

Velvet Dress- Adjusting a charity shop find

I feel that, while last christmas was all about sparkles, this year is looking very velvety. 


I found a velvet dress in dark red in a charity shop for £8 in a size 16.  Or course, as we all know, people who are size 16 do not want, need, or deserve a dress with any shape to it and should instead wear velvet nighties when they're out on the town.
Suffice to say that I needed to take the dress in, but also add some definition to the waist and improve the neckline. 
I tried the dress on and marked my natural waistline (my narrowest point, not the annoying point at which modern jeans sit), then took it off and cut the dress in half at this point. I unpicked the thin strip of lace around the neck line which really made it look like nightwear. 

The I took the top part in by re-sewing the side seams about an inch further in and both sides including the sleeves as well.  I disliked the large rounded neckline so I manipulated the fabric to create a v shape below the neck (I couldn't cut it into a v fully as it would have been too low).  It now appears that one half of the top overlaps the other but it doesn't as there wasn't enough fabric to do this.
Making sure the top now fitted I lined up the skirt which was now much bigger than the top half.  I hand sewed a loose running stitch around the top of the skirt. And then pulled (pulling the thread scrunches the fabric) until the skirt became the same size as the top, then I tied a knot in the thread and attempted to arrange the scrunches evenly.  Then I pinned the skirt to the top (right sides together) and sewed around the waist. 


 I had to re hem the neckline and cut about 20cm off the bottom of the dress as it felt too long and then re hem the bottom. 
And that was that :)
p.s Hope you enjoy as much as I did that all the pictures made the dress look different colours...

Wednesday, 14 November 2012

Customising a T-shirt- XL work shirt to cute everyday Tee


When I started working at my job we had temporary t-shirts before we got proper shirts, they were all XL and bright teal* and said ASK ME on the back in big letters.  Now we have shirts the tees are unneeded but unwearable at present and needed significant adjustment.

I cut the section off the back which said ASK ME, and also the section on the front which said the name of my work, then sewed the top back on to the remaining body.  I took in the side seams quite a lot because it was far too big.


Then I removed the sleeves and sewed them back on further up the arm (as the shoulder sat half way down my arm before).  I basted the top of the sleeves and pulled it tight so it scrunched up, then I sewed over this scrunch with the sewing machine. 

Then I cut a white square from the section from the back and a teal heart from some left over teal and sewed that to my sleeve. 


*It's bluey-green.


Sunday, 11 November 2012

Blue Skirt wih Pleats

I finally got round to digging through my fabric stash and using some remnant upholstery fabric I had picked up ages ago.  I had two pieces in the same design, one blue and one mauve.  I use the blue one for the skirt- I had less than a meter (I think, I didn't actually measure it) and used it all for the skirt, and a strip of the mauve for the waist band.  I also used a mauveish zip.  In total it probably cost me less than £3 and took a  couple of                                                                                                            hours. 

I pleated the blue fabric and basted the pleats.  Then inserted the zip and sewed the back seam.  Then hemmed the bottom and sewed the waistband in. And voila- an easy peasy skirty.


Tuesday, 6 November 2012

How to customise a t-shirt- inserting lace...

When out with boyfriend at the weekend I saw and bought a mens extra large camouflage t-shirt which was, I'm pleased to say, too big for me.  I wasn't sure what I'd do with it, I liked the loose, long fit of it but it was shapeless an not super flattering. 

After trying it on I decided my first move was to alter the sleeves- even if you want a loose fit tee it's probably a good idea to have the shoulders of the t-shirt sit somewhere approaching the shoulders on your body and not half way down your arm because it was design for a man with needlessly broad shoulders (well that's what I think anyway).  So I cut off the sleeves (cutting along the seam to keep the correct shape) an then cut off a strip of fabric a couple of inches thick from the arm hole.


I then decided I would insert some lace I had left over from a previous failed project, so I took my now sleeveless t-shirt an cut off the top of it.  I had checked before hand how low the lace could go before becoming indecent.  I placed this top section on top of the lace and cut around it, using it as a template.  I then attached this to the rest of the original t-shirt.  I cut off the original collar and sewed that on to the lace.  


I then had to take the t-shirt in at the side because taking the sleeves in had left a certain discrepancy in the width of the t-shirt at certain points. Once I had done this I neatened up the seams inside to ensure they did not show through the lace, and voila it was done.  I may add some more lace to the bottom, I can't decide.  It just slightly unfortunate that it is so incredibly not t-shirt weather and I will have to wear a long sleeve top underneath.


Friday, 2 November 2012

How to print onto a t-shirt...

Well I'm still in the experimental stage but I've been wanting to look into printing onto fabric (like a t-shirt), and also I've been preoccupied with dinosaurs because they're awesome.  I found a picture of a stegosaurus on the interwebs, where everything lives, and copied it out onto paper (yes this process started reassuring in the familiar world of the interwebs but turned terrifyingly to the dark ages of paper and pen but stay calm and enjoy the detour into the caveman world).


Then I bought some craft foam and copied the drawing onto it, and cut out the stegosaurus shape.  This became by stamper- it's not great without a wood block to hold onto especially since it's a fairly large stamp making a little fiddly and messy.  But then, there hasn't really been a craft project of mine that hasn't made a mess...


I placed a piece of cardboard inside the t-shirt to separate the to layers so the paint didn't bleed through (although it really wasn't runny enough to do that anyway) and made sure the fabric lay nice and flat.  I made a few dots on the t-shirt to indicate where I wanted the stegosauruses to go, this helped make sure they would fit.  Then I painted a thin layer of paint onto the foam stamp, placed it onto my t-shirt, and pressed down firmly concentrating on the edges.  From my tests I knew it would result in a fairly sketchy imprint that I would the have to paint over the top of it so that's I did. 


Wednesday, 24 October 2012

Halloween Costume- Cave Girl

Much pondering but I ended up at Cave Girl for my costume for Halloween, I had one day to complete the outfit and I'm pretty pleased with it.

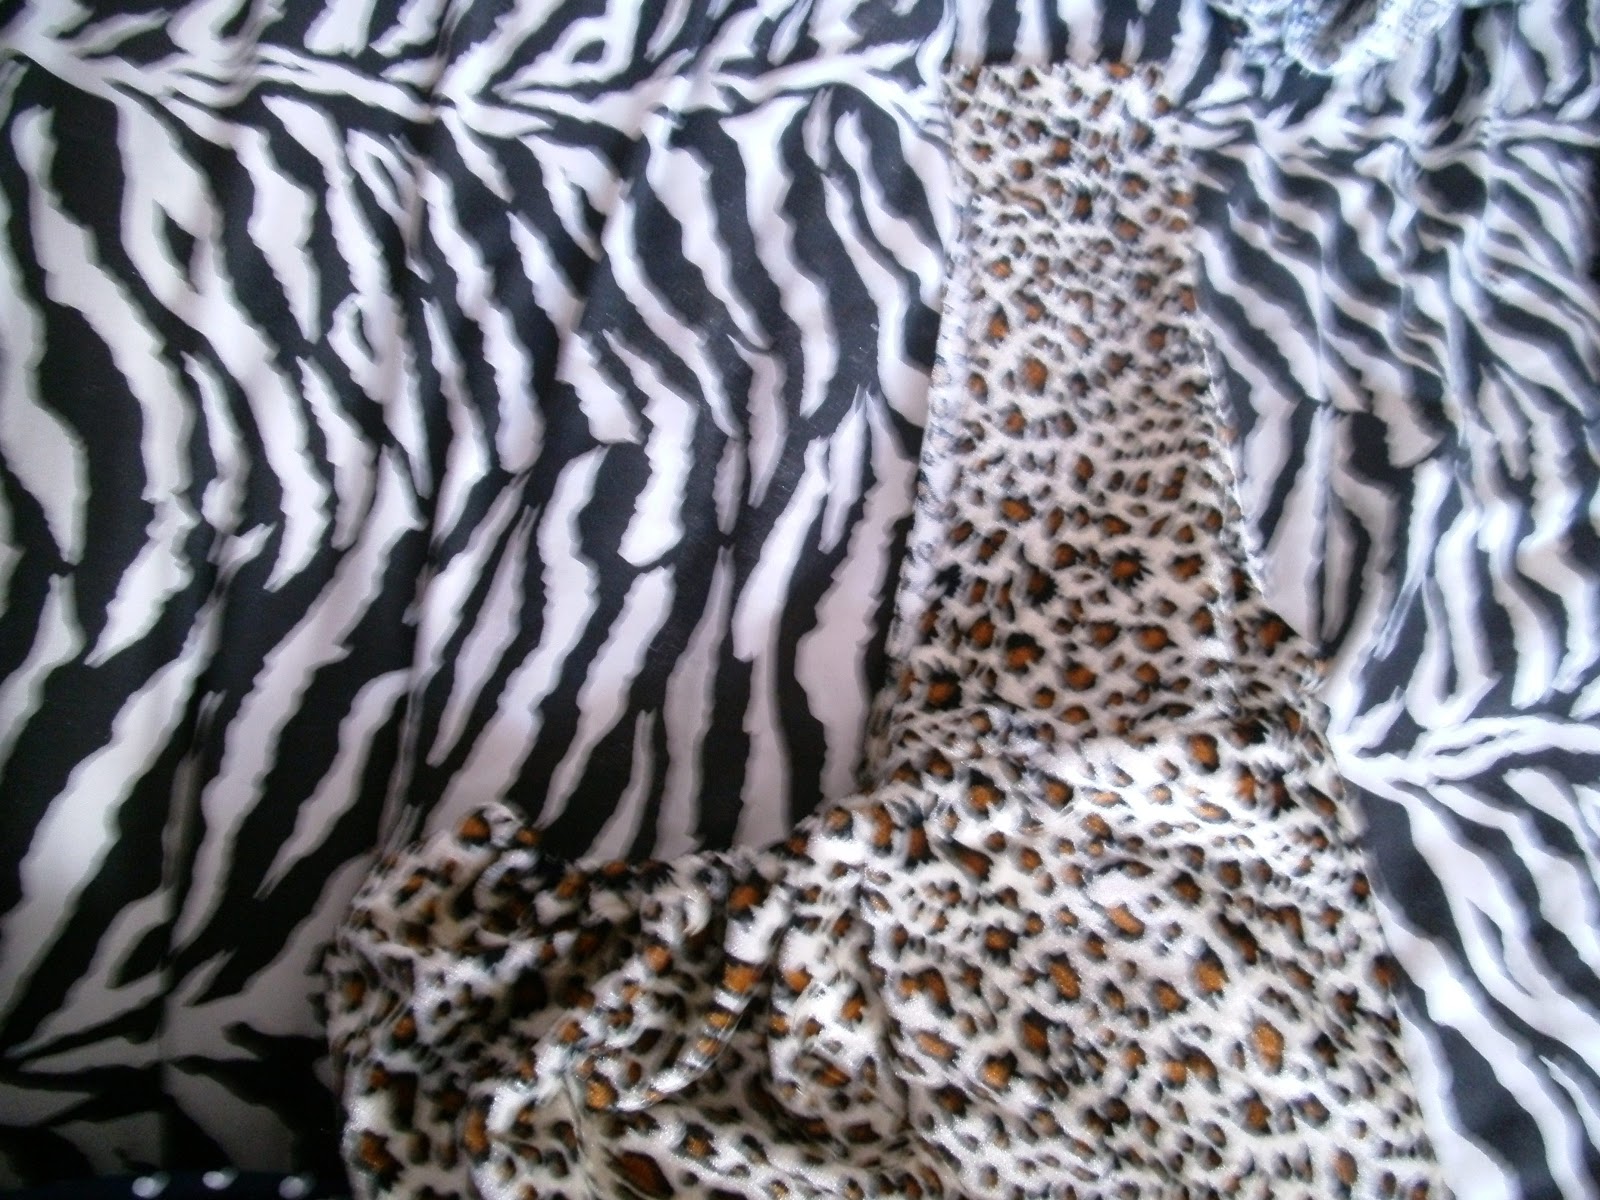
I bought a metre (1.5m width) of leopard print fabric from HobbyCraft for £7.99.  I wrapped it around my body and pinned it in place, then folded the top edge over about 2cm and sewed around this edge.  I then fed some elastic through the tunnel.  I then eyeball measure a piece for the shoulder strap and sewed that on the top of the dress.  I then cut the dress shorter and cut triangles from the bottom to look ragged.  I cut a strip of the fabric and cut into it to make it also look ragged without losing the length and I'll use that as a make shift belt (just like the most fashionable cave people did I'm sure). 
I used a sheet of thin white foam to make a bone for my hair and some smaller bones for a necklace to match.


Wednesday, 17 October 2012

Arty Malarky- My New Craft Table

I arrived home today to find a note from the post person telling me that next door had a parcel- how exciting!  Turns out it was my new craft table that I was hoping would be strong enough to hold my sewing machine but I'm not convinced.  However it'll be nice to a little table, but it looks a tad drab so I decided to jazz it up by sticking some pics on it from magazines I stole from work. :)


Wednesday, 3 October 2012

How to: Cute Bat Halloween Decorations

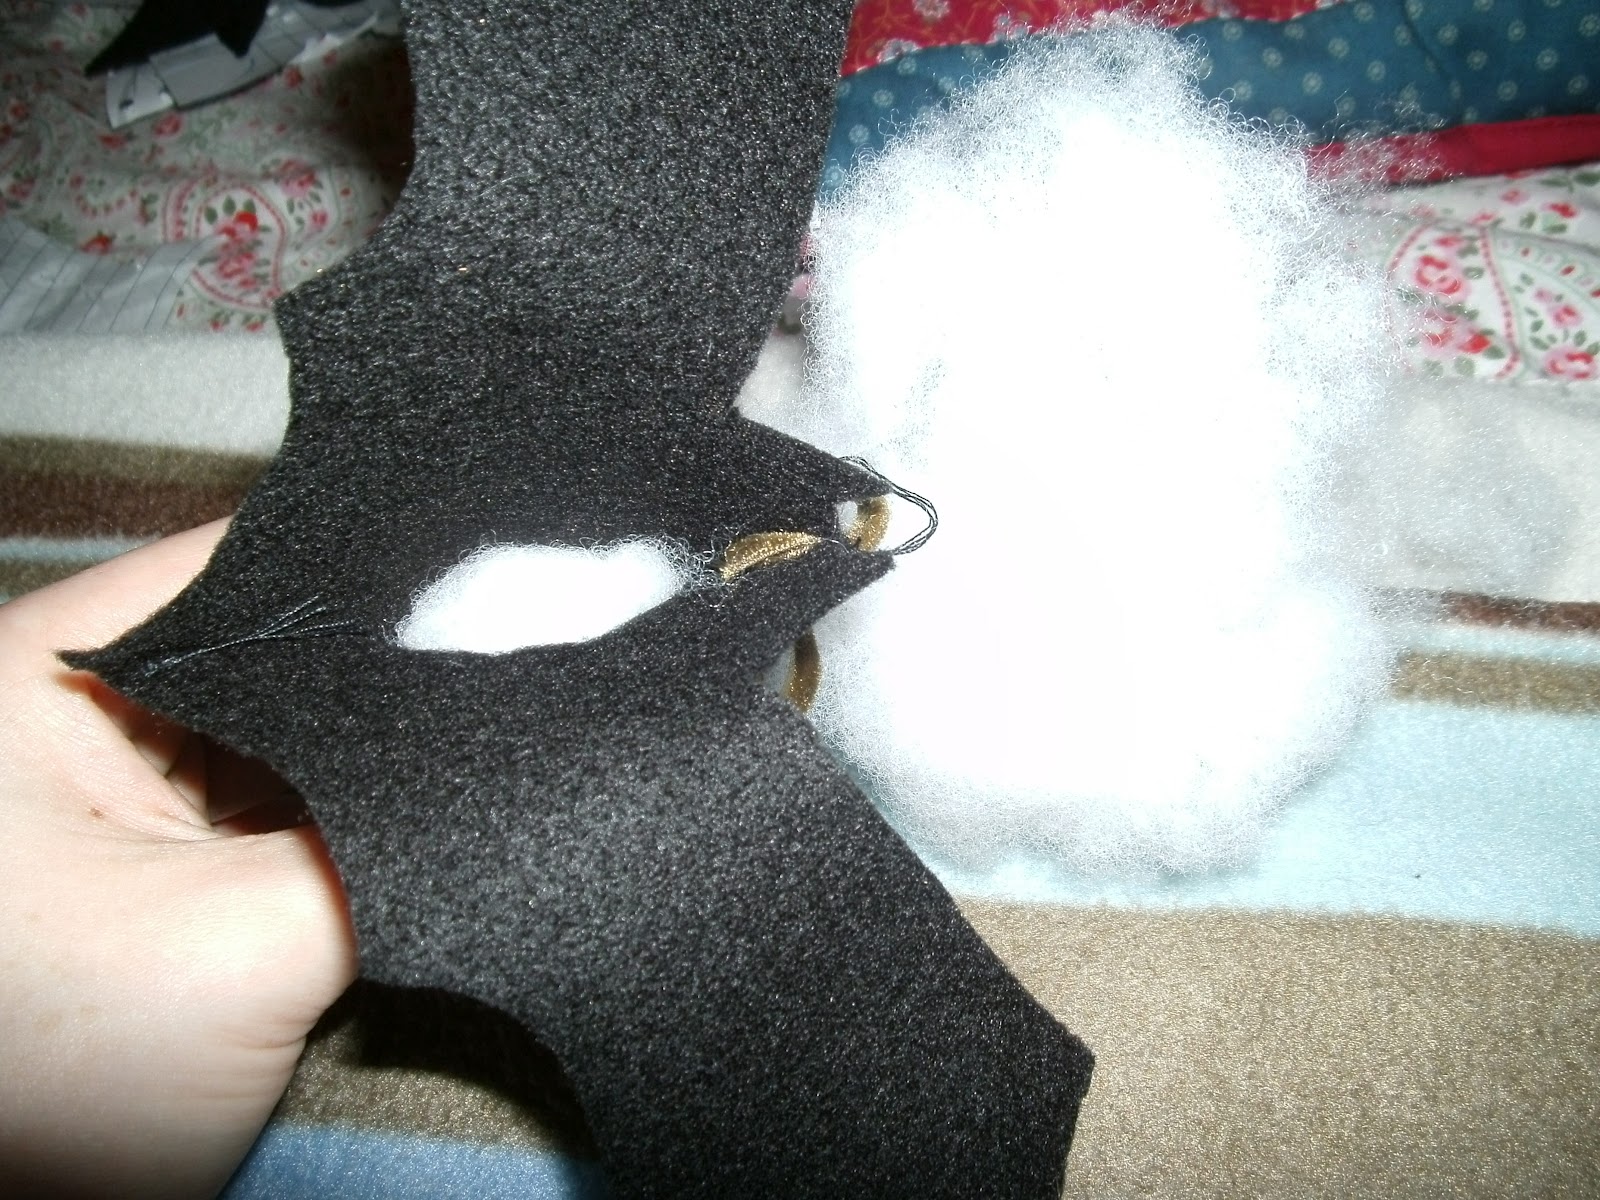
It's still a bit early but I whipped up a couple of cute felt bats to hang up in my window over the halloween festive period, thus showing to the world how festive and halloweeny I am.


I drew an outline of a bat shape, no point in adding detail as this will be lost when it's cut from the felt, also I only drew half the shape- split in a straight line down the middle.  I think pinned this to folded felt with the fold meeting that middle edge of the bat.  This helps it be more symmetrical. 

Then you cut the bat shape out- duh. Twice.


Then I pinned the two bats together, and hand sewed around the edges.  When I got to the head I inserted a small piece of ribbon inside and then sewed it in place- I'll use this to hang up the bat.


Before the bat was stitched all the way around I stuffed it with toy stuffing, then closed up the gap.


Wednesday, 26 September 2012

Cotton Shorts

After my High Waisted Denim Shorts success I decided to use some other denim I had, which was very thin cottony denim and make some more.  I used the same pair of existing shorts to copy around as they fit me, but are a bit too short. 

I like these for casual, comfy days.  I think I will take them on my holidays, they are very plain and they do, have a 'mum jeans' look about them.  They look ok with a long top but less flattering without.  But that's pretty much always true with high waisted stuff. 


Sunday, 23 September 2012

Vintage Fair

Took my little self to a vintage fair (unfortunately I went on Sunday not Saturday and there are much fewer stalls and the atmosphere is lacking) and bought a pretty skirt to wear on my jollidays and a book to read. But here are some awesome things I should have bought:


 Boyfriend (who came with me and complained, and moaned, and rather reminded me of how annoying I was as a child when I was taken anywhere- but he is not a child, he is 31) did not care for any of them, which rather made me want to buy them just to wear when out with public with him but alas I do not earn enough for that kind of spite.  One day...

The bottom jumper btw is a cartoon of the Own and Pussycat :)