Pages

Bienvenue


Occasionally it seems that world is in pure chaos with nothing making sense, but that doesn't matter as long as I can sew. Sewing is a form of art, or at the very least creativity, and a form of expression. A great outlet for the tension of everyday life. Also you can make cute things. The craft revolution is truly taking place, old skills are being revived by a new generation, but with a seriously modern twist.

I've made Mario pillow cases, a giraffe print background, and turned duvet covers into summer dresses. I enjoy making something unique, special, and me- then I like wearing it and watching it fall to pieces or not fit properly. Then I enjoy (slightly less) fixing it.

One day I shall have a room filled with glorious fabrics and boxes of notions, and on that day I will have found my nirvana. But until then this blog will exist as my virtual haberdashery and sewing room. Hopefully you'll enjoy looking at my creations as much as I enjoy looking at other blogs, and you'll be inspire to make something of your own.
Showing posts with label adjusting. Show all posts

Monday, 25 March 2013

How to turn a jumper into a cardigan (it's super easy!)

I've been on the look out for a new black cardigan for work for a while now.   The one I have is fine but boring and I've had it for years and I'm bored of it.  But I need something reasonably priced in plain black but I don't want another boring black cardigan to match the one I already have.

At the same time I have a black jumper that I bought cheap in the sale (£2.99 I believe) that I like because it has funny wing things on the shoulders but because it is plain black I never wear it as it doesn't really go with any outfits.  Jumpers are hard to fit into an ensemble I find.

The solution was so obvious it's only taken me a year to think of it; turn my jumper into a cardigan I can wear at work.


Step one: Lay the jumper down flat and find the center and mark a line.

Step two: cut down the center line.


Step three: Attach bias binding* (I used the satiny kind, and it took a whole meter for one cardigan, and I am 5ft7") to the newly cut raw edges, and sew it in place.


Step four: Measure where you want the buttons to go- I used 6 and space the about 7cm apart, and mark this on both sides of the old center line.

Step five: On one side sew the buttons and on the other cut button holes.  I have yet to fathom the button hole stitch on my sewing machine so I cheated.  I cut the holes and then used a match to finish off the edges of the holes.  The match melts the threads to stop them fraying.  Time will tell how well this works!

Step six: sit back and marvel at your finish product.

Before
After

I also did an old purple jumper that I never wear, but I decided not to add buttons to it.  I generally don't like cardigans that don't fasten so I may in the future add another type of fastening to it.


*Bias Binding?  It is a strip of fabric usually in cotton or satin that is cut on the bias- that means at a 90 degree angle, which allows it to stretch and therefore go around curves like arm holes or neck lines.  The edges are already folded over to give you a neat finish and you simple fold it over a raw edge and sew in place.

Thursday, 21 March 2013

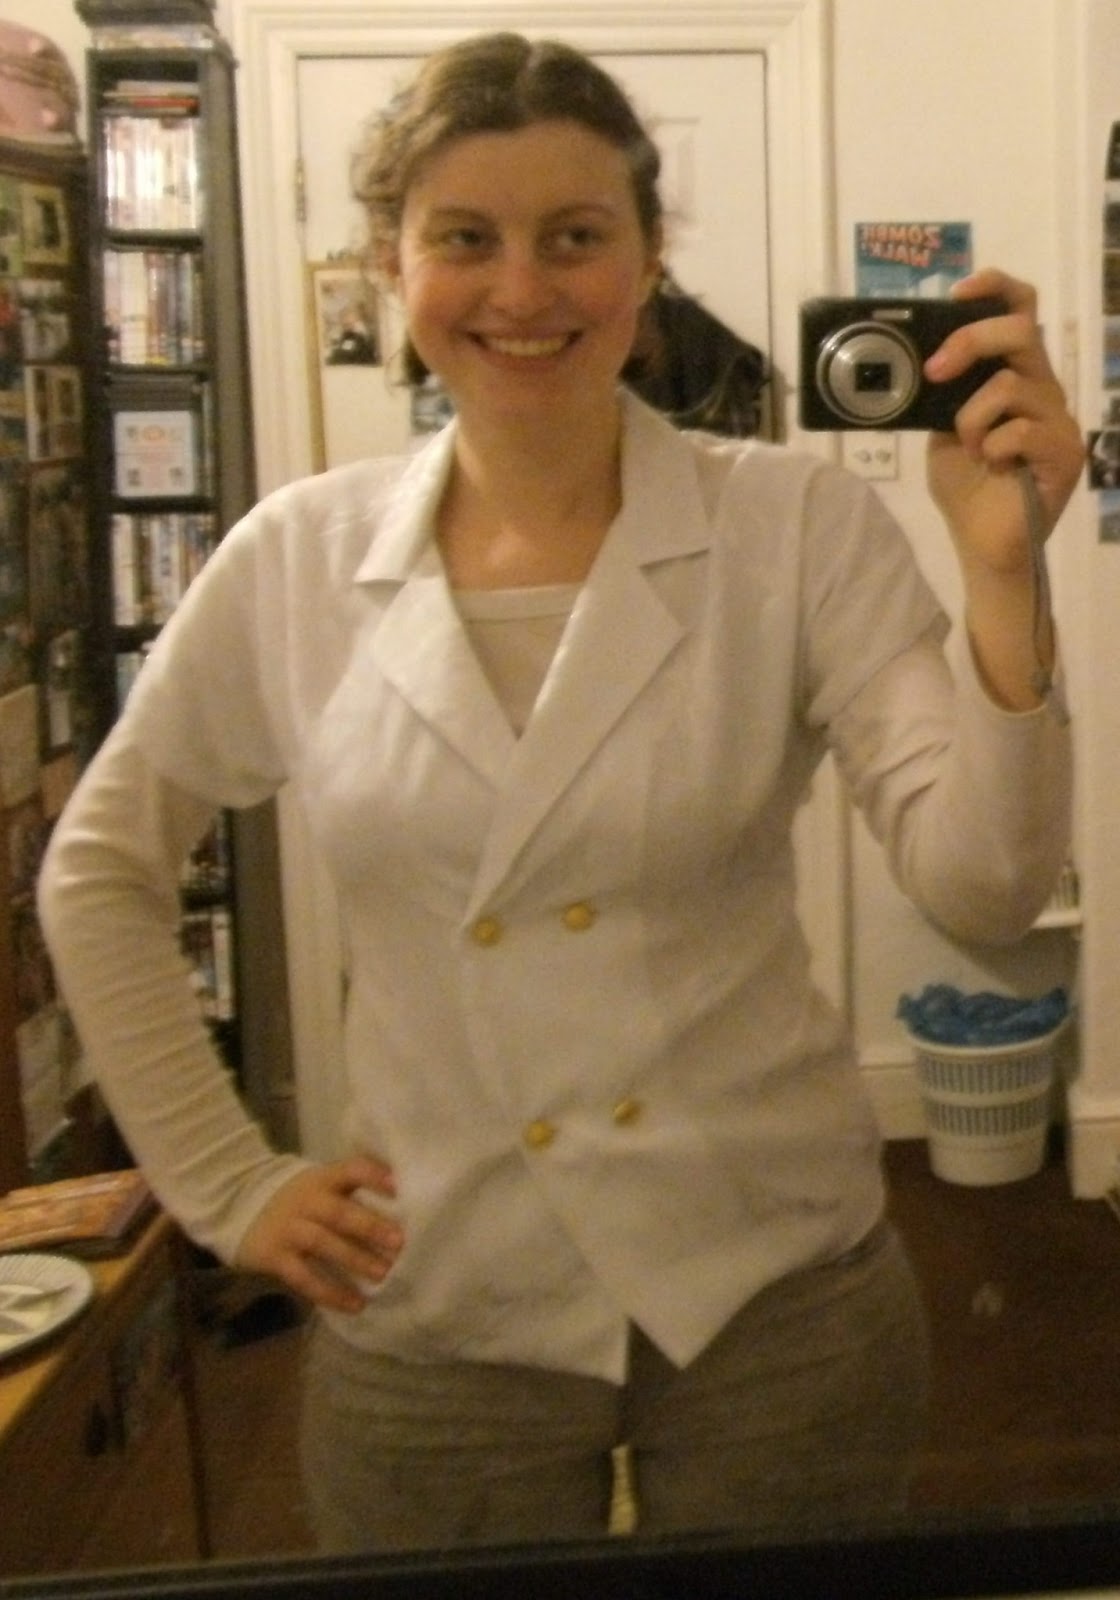
White Shirt

I bought this white top from a vintage fair for £2.  I liked that it was big and boxy but then I never wore it because it is big and boxy.  So I took it in at the side seams- too small twice, but now it fits.


Thursday, 22 November 2012

Too Big Jacket to Cute Jacket

I bought a jacket from a vintage fair a while back because I loved the print (little blue bows all over it) and it was cheap (5 items for £10) but far to big and boxy with shoulder pads.  So about 6 months later I finally got round to upcycling it.  I wasn't sure what to do with it at first so I pinned and basted and unpicked and resewed etc until I had made a cute little waistcoat jacket.  It's perfect for the spring which is great given the cold winter weather we're having.


Monday, 19 November 2012

Velvet Dress- Adjusting a charity shop find

I feel that, while last christmas was all about sparkles, this year is looking very velvety. 


I found a velvet dress in dark red in a charity shop for £8 in a size 16.  Or course, as we all know, people who are size 16 do not want, need, or deserve a dress with any shape to it and should instead wear velvet nighties when they're out on the town.
Suffice to say that I needed to take the dress in, but also add some definition to the waist and improve the neckline. 
I tried the dress on and marked my natural waistline (my narrowest point, not the annoying point at which modern jeans sit), then took it off and cut the dress in half at this point. I unpicked the thin strip of lace around the neck line which really made it look like nightwear. 

The I took the top part in by re-sewing the side seams about an inch further in and both sides including the sleeves as well.  I disliked the large rounded neckline so I manipulated the fabric to create a v shape below the neck (I couldn't cut it into a v fully as it would have been too low).  It now appears that one half of the top overlaps the other but it doesn't as there wasn't enough fabric to do this.
Making sure the top now fitted I lined up the skirt which was now much bigger than the top half.  I hand sewed a loose running stitch around the top of the skirt. And then pulled (pulling the thread scrunches the fabric) until the skirt became the same size as the top, then I tied a knot in the thread and attempted to arrange the scrunches evenly.  Then I pinned the skirt to the top (right sides together) and sewed around the waist. 


 I had to re hem the neckline and cut about 20cm off the bottom of the dress as it felt too long and then re hem the bottom. 
And that was that :)
p.s Hope you enjoy as much as I did that all the pictures made the dress look different colours...