Pages

Bienvenue


Occasionally it seems that world is in pure chaos with nothing making sense, but that doesn't matter as long as I can sew. Sewing is a form of art, or at the very least creativity, and a form of expression. A great outlet for the tension of everyday life. Also you can make cute things. The craft revolution is truly taking place, old skills are being revived by a new generation, but with a seriously modern twist.

I've made Mario pillow cases, a giraffe print background, and turned duvet covers into summer dresses. I enjoy making something unique, special, and me- then I like wearing it and watching it fall to pieces or not fit properly. Then I enjoy (slightly less) fixing it.

One day I shall have a room filled with glorious fabrics and boxes of notions, and on that day I will have found my nirvana. But until then this blog will exist as my virtual haberdashery and sewing room. Hopefully you'll enjoy looking at my creations as much as I enjoy looking at other blogs, and you'll be inspire to make something of your own.
Showing posts with label sewing. Show all posts

Monday, 22 July 2013

Bin Cosy/Cover

My bin did not look pretty.  It was of great concern and distraction to me, it was ruining a nice little corner of my room.  So I decided to pretty it up by making a little cosy or cover for it.  It took about 30mins and was very easy, particularly as I cheated slightly and glued a bit.
Here's the before and after:


So all I did was take some left over fabric (about half a metre but I didn't need that much).  I drew around the bottom of the bin, then drew another circle about an inch around the first one.  My fabric was quite wide bu not long enough so I cut it half and then sewed the two pieces together to make a longer thinner rectangle.  I then folded the top over a good inch and sewed it, leaving the ends open to feed elastic through.  Then I used the tried and tested 'wrap-the-fabric-around' method to make the body of the cover.  The bin is bigger at the top than the bottom but I didn't worry about that initially I just made sure it fit around the widest part and then sewed it.  The I put in on the bin several times in order to get the fit right and had to take it in, particularly at the bottom.  I then glued the bottom circle on and trimmed around the edges.  The I fed some elastic through the cosy and pulled it tight, then sewed the elastic ends together.  And that was pretty much that. :)


Wednesday, 29 May 2013

Snorlax Door Stop

I have been mulling for a while about getting a door stop as my door closes itself which is very annoying.  I put it off as I couldn't think of what to make but I stumbled across a picture of Snorlax.

Snorlax is a giant pokemon who sleeps and eats, he is in fact a key plot point in the early pokemon games as he blocks your path and you have to figure out how to wake him up.  So he seemed like a good choice for something that's going to sit there blocking something.


 I drew out Snorlax, cut out the individual pieces, then cut them out of the fabric.  I sew the main body together and filled with rice.

Then I sewed the ears, arms, and feet and filled them with toy stuffing, and sewed them on to the body.


Friday, 26 April 2013

Anchor Shorts

I saw some very cute and cheap fabric at the market that is white with blue stripes and anchors on it (I resisted buying the one that had heart shaped anchors on it) so I bought it and made some shorts.  I think it was slightly sunny for a few days whilst I was off work and I got over excited and started planning my summer outfit.  Obviously, it then went cold again and my making shorts seems mad now.  But that's what I've done.

I copied around my existing shorts, like I always do which means they are high waisted and so wide legged they look like a skirt.  I also used the waistband from some old jeans (yay for saving scraps!) which made life easier because I didn't need to do button holes.  I attempted to do a fly but that failed so the zip is visible but I don't mind that much.  And on the back I added a patch I already had that has a skull and cross bones on it to make them piratey. 


Tuesday, 23 April 2013

How to Sew a French Seam

French seams are a simple way to make your seams look nice and neat inside the garment as well as strengthening them.  You basically sew the seam twice and hide all the mess inside.

Step 1- Place you fabric WRONG sides together and pin in place.

Step 2- Sew a normal running stitch close to the edge of the fabric.  You only want your seam allowance to be a few mm.
Step 3- Now put your fabric RIGHT sides together and pin in place. 
Step 4- Now line your sewing machine needle up (or hand needle is you're doing it the slow way!)  so that you can sew a new row of running stitch and fully hide the seam allowance.
Step 5- Now sew.


And that's that. The seam looks the same on the outside and inside, it's stronger, and less scratchy!

Monday, 15 April 2013

How to make a backpack/rucksack...

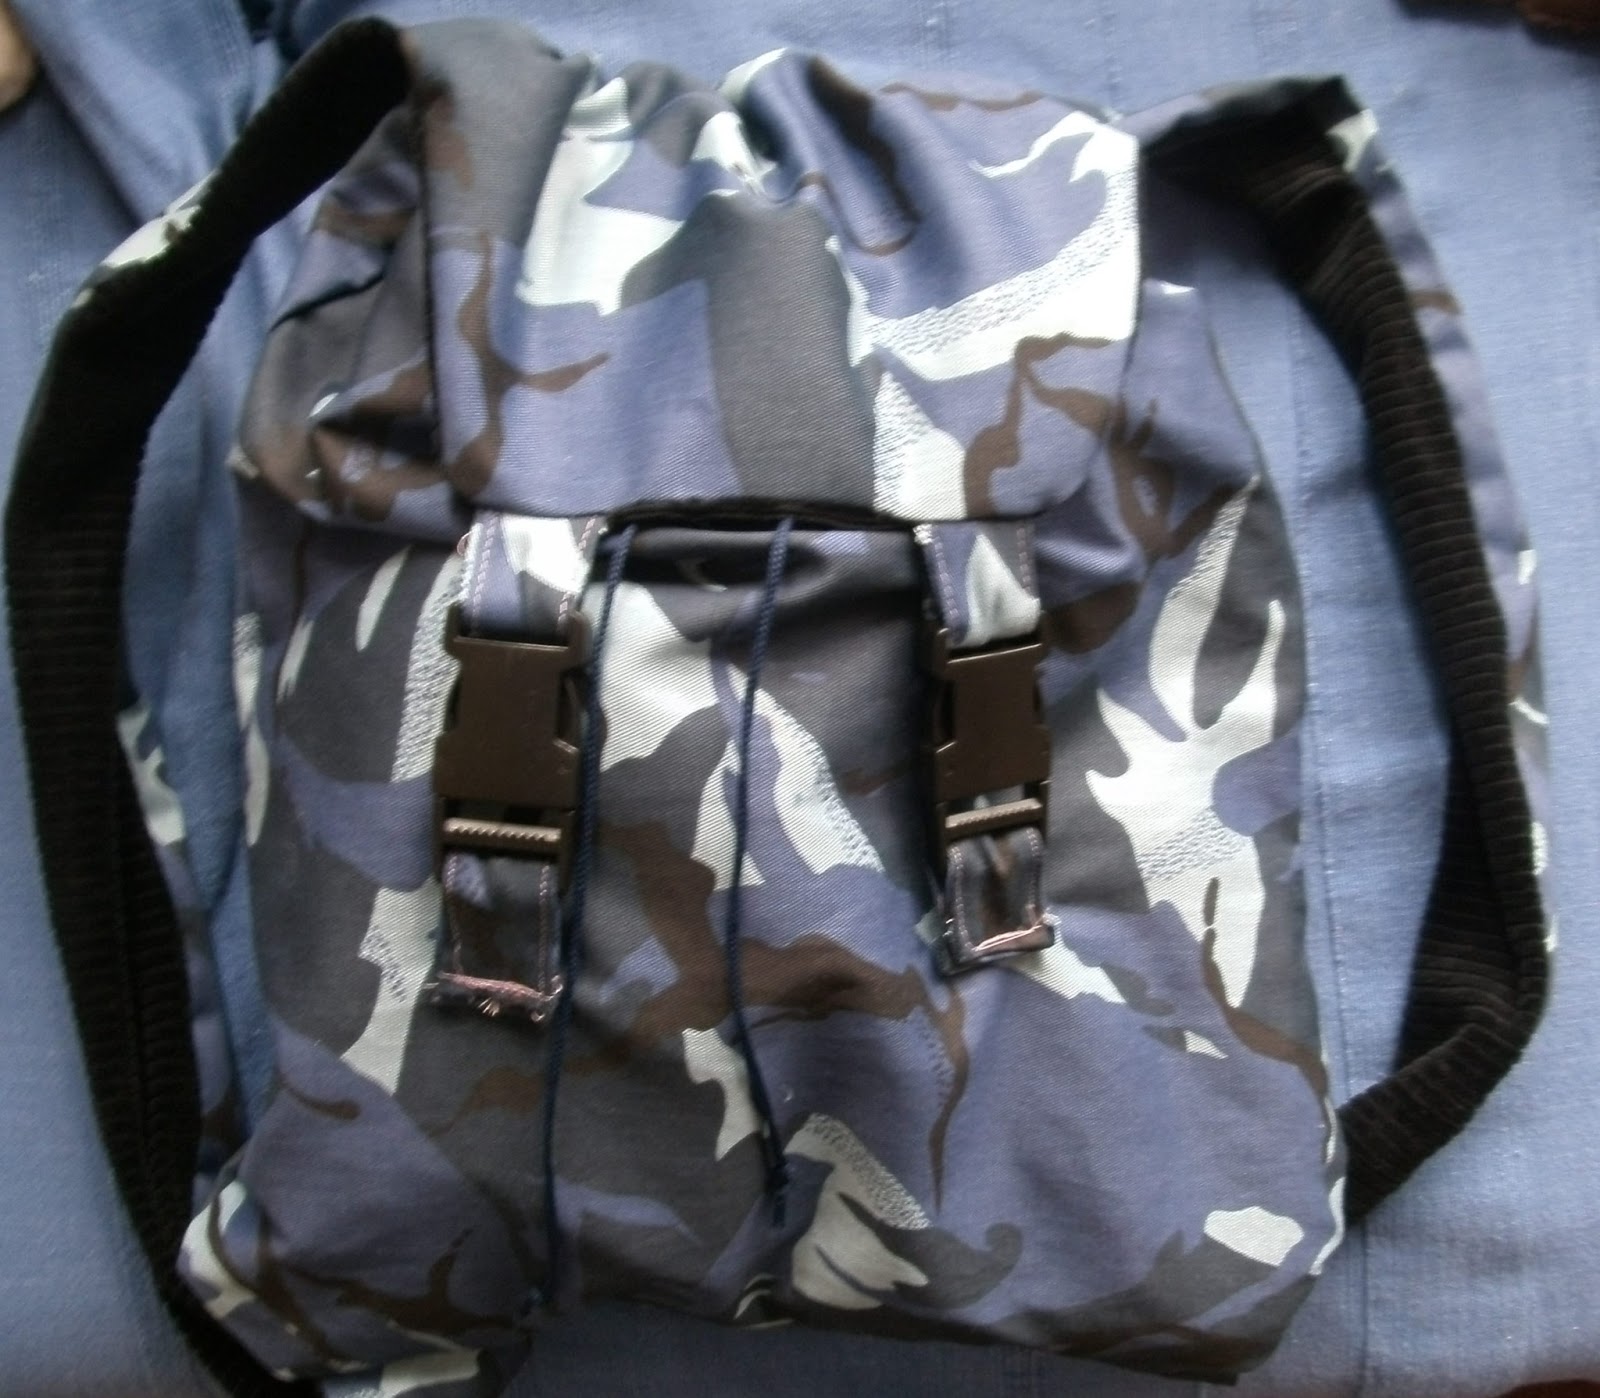
A while back I decided I needed a backpack for days when I went cycling- it didn't need to be very big just big enough to fit the essentials like keys, phone, purse, water bottle, jumper.  So I scoured the internet and actual real shops and found nothing until I stumbled across an etsy shop.  Looking at their backpacks I realised I could make my own fairly easily.  And it was fairly easy but given the nature of making bags with linings (you make the bag inside out, with all the straps and hat not hidden inside when you sew) it required me to unpick and resew as I had put things in upsidedown and back to front.

The trick to making it yourself is getting all the bits in the right place in the right order (duh) but if you do it wrong you have to unpick and dig in to an inside out back to front bag and re do it.  I made a new bag recently because my old one had some problems (the straps were too short, the bag was slightly too small, and there was no proper clips to fasten it) so I thought I'd document it for you all.

Here is my pattern! It's super sophisticated as you can see but it's pretty much what you need.
Of course the size of the bag is up to you but these are the sizes I used.
You need:
Main pieces for the bag body x2 lining
                                               x2 fabric
Strap pieces x2 lining
                    x2 fabric
Front flap piece x 1 lining
                          x1 fabric
Pockets x whatever fabric you want, I didn't put any into mine.
Tube for drawstring x 1lining (I didn't draw this but it needs to be about 5 cm wide and long enough to go all the way around the top of the backpack- my bag was about 34cm wide so I needed my my tube to be 68cm long).
Little straps for clips- x4 fabric (again not on my pattern but they should be the right width to fit your clips and the right length for your preference).
Toggles for the drawstring, and clipy things to fasten the backpack at the front.

Step 1. Cut out all the pieces- remember to add at least 1cm of seam allowance to every edge.

Step 2. Make the little straps for the clips- I had two clips so I got 4 pieces of fabric and sewed them into pairs.  Then feed these through your clips and sew one half onto the front of your main bag (the fabric piece not the lining piece)


 Step Three- Also on the front bag piece add your pockets or anything else you want to put on the front, you wont have chance later on.  Don't worry about the back of the fabric all the threads will be hidden by the lining.

Step Four- Make the front flap, this is the flap which will close over the top of the bag and make it more secure.  Put the fabric flap piece and lining flap piece and pin them right sides together along the side seams.  Take the other halves of the clips and attach the little straps to them then pins those in the bottom edge inbetween the fabric and the lining- with the clips hidden inside.  Then sew around the three pinned seams and turn right way round.  And if you found that instruction confusing you wont like the subsequent ones!


Step five- Take the shoulder straps pieces right sides together and sew the lining and the fabric shoulder pieces along the long side seams- leave the small seams open.  Then turn the straps right way round .

Step six- Take the main bag body fabric pieces right sides together and sew along the long side seams, and turn the bag right way round.  Then sew the lining pieces in the same way but keep this inside out.  Place the fabric bag inside the lining bag.


Step seven- Take your draw string tube fold it in half (wrong sides together and fold it width ways so it is still long and thing) and iron or pin in place.

Step eight- Ok- listen carefully!  Take your bag body and along the top edge (it doesn't make a difference which is top and which is bottom at this point so pick an open end).  Inbetween the lining and the bag place the straps (near the side seams, and with the main fabric facing up), the front flap (with the main fabric facing down)  the drawstring tube (make sure the centre of the bag matches the half way point of the tube).  You should end up with a sandwich that goes bag, strap, flap, tube, lining.   But all of the pieces should be hidden inside the bag.  

Step nine- Turn over the bag and carry on pinning in the draw string tube in the front of the bag (but still inbetween the bag and lining.   Now sew along the top of the bag going through all the layers attaching the bag and lining.

Step ten- Now turn the bag around so you are dealing with the bottom open end of the bag.  Reach in and find the shoulder straps and feed the ends of the them into the bottom of the fabric bag and pin in place.  Be careful that the straps aren't twisted.  The bag is currently sitting inside the lining- but you need access to the bag to sew the bottom seam.  So holding the bag with the top edge you just sewed at the top reach in and pull out the bag leaving the lining behind.  You now have the bag right sides together including the straps pinned in place.  Sew along this seam.  Place the bag back inside the lining.    It should look something like this except without the straps showing at the bottom because I initially made a mistake. 


Step eleven- You should still have a hole in the bottom seam of the lining.  Reach your hand into through this hole and pull through it all of the rest of the bag.  Check the bag over and that everythings in the right place then sew the hole in the lining as neatly as possible.  Then place the lining inside the bag.  


Step twelve- The last step is to thread the drawstring and add toggles.  


Thursday, 11 April 2013

Slouch Jumper

I saw this pretty pink, and very soft, jersey at the market so I bought a meter and made a jumper.


Tuesday, 9 April 2013

Star Trek Dress

Star Trek dresss!  I used New Look pattern 6048 and a Star Trek duvet cover I bought off the interwebs.  My first attempt was way too big so I took the dress apart and re cut the pieces a size smaller- I also decided that there was too much of the Star Trek fabric and I took off the skirt.  I bought some blue camouflage fabric from the market for a totally inspired creation.  The bodice section was still way too big even though I re cut it from a 12 to a 10 but then I realised that it's an American pattern (doh) and they have big sizes so an American 10 is a UK 14.  Anyway I couldn't be bothered to re-cut the pattern so I just cut a bunch of the back. I think I might make it a bit shorter but we'll see.


Sunday, 7 April 2013

Pjama shorts

I made PJ trousers before but they were too small so I decided to use the left over fabric to make shorts.  I copied around my current PJs, which are too big for me, and cut out my fabric.


Despite copying around trousers that were too big for me I once again managed to make PJs that were too small so I added a little triangle in the side seams.  Worked like a charm:)  The waist band is just elastic and I hand sewed a F into the front, mainly to distinguish the front from the back. 


Monday, 25 March 2013

How to turn a jumper into a cardigan (it's super easy!)

I've been on the look out for a new black cardigan for work for a while now.   The one I have is fine but boring and I've had it for years and I'm bored of it.  But I need something reasonably priced in plain black but I don't want another boring black cardigan to match the one I already have.

At the same time I have a black jumper that I bought cheap in the sale (£2.99 I believe) that I like because it has funny wing things on the shoulders but because it is plain black I never wear it as it doesn't really go with any outfits.  Jumpers are hard to fit into an ensemble I find.

The solution was so obvious it's only taken me a year to think of it; turn my jumper into a cardigan I can wear at work.


Step one: Lay the jumper down flat and find the center and mark a line.

Step two: cut down the center line.


Step three: Attach bias binding* (I used the satiny kind, and it took a whole meter for one cardigan, and I am 5ft7") to the newly cut raw edges, and sew it in place.


Step four: Measure where you want the buttons to go- I used 6 and space the about 7cm apart, and mark this on both sides of the old center line.

Step five: On one side sew the buttons and on the other cut button holes.  I have yet to fathom the button hole stitch on my sewing machine so I cheated.  I cut the holes and then used a match to finish off the edges of the holes.  The match melts the threads to stop them fraying.  Time will tell how well this works!
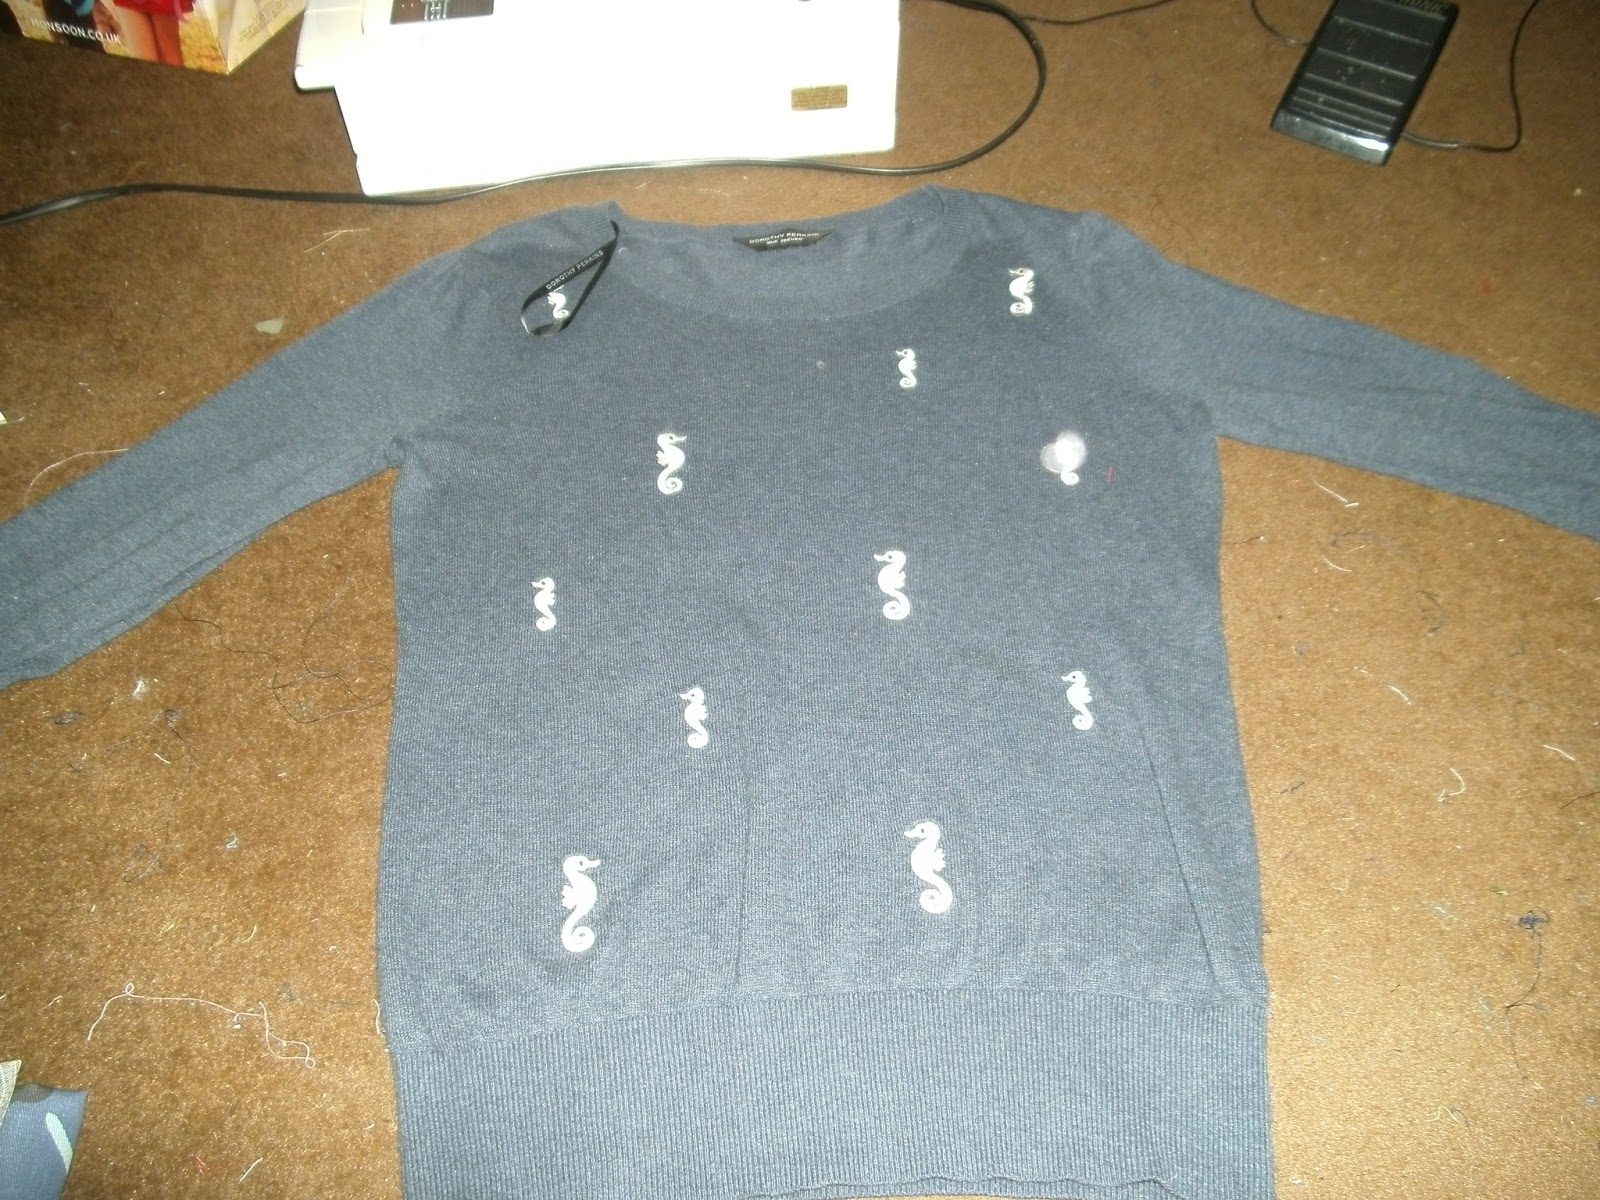
Step six: sit back and marvel at your finish product.

Before
After

I also did an old purple jumper that I never wear, but I decided not to add buttons to it.  I generally don't like cardigans that don't fasten so I may in the future add another type of fastening to it.


*Bias Binding?  It is a strip of fabric usually in cotton or satin that is cut on the bias- that means at a 90 degree angle, which allows it to stretch and therefore go around curves like arm holes or neck lines.  The edges are already folded over to give you a neat finish and you simple fold it over a raw edge and sew in place.