Pages

Bienvenue


Occasionally it seems that world is in pure chaos with nothing making sense, but that doesn't matter as long as I can sew. Sewing is a form of art, or at the very least creativity, and a form of expression. A great outlet for the tension of everyday life. Also you can make cute things. The craft revolution is truly taking place, old skills are being revived by a new generation, but with a seriously modern twist.

I've made Mario pillow cases, a giraffe print background, and turned duvet covers into summer dresses. I enjoy making something unique, special, and me- then I like wearing it and watching it fall to pieces or not fit properly. Then I enjoy (slightly less) fixing it.

One day I shall have a room filled with glorious fabrics and boxes of notions, and on that day I will have found my nirvana. But until then this blog will exist as my virtual haberdashery and sewing room. Hopefully you'll enjoy looking at my creations as much as I enjoy looking at other blogs, and you'll be inspire to make something of your own.

Monday, 28 March 2011

Flower Box Dress

Jumping with Sartorial Joy


This is the Flower Box Dress as it's flowery and has box pleats, sort of.  I saw a project on Burdastyle called The Imperfect Alice Dress, by member wonderlandalys and thought it looked great, and with the weather getting warmer it would be nice to have a new sun dress. 
http://www.burdastyle.com/projects/the-imperfect-alice-dress
She had used Butterick B5317, so I purchased the pattern online for about £8 then set to work making a bunch of other stuff...ah to bethe kind of person who can stick to one project at a time... But then womderlandalys posted a new variation; The Love Letter Dress and I decided to get on with my own version.
http://www.burdastyle.com/projects/the-love-letter-dress

Well the pattern is easy enough, but I find patterns very tricky.  I was musing over it as I was sewing everything together wrongly- when you have made up your own pattern there is no right and wrong as you're just making it up, and at the end of the process you can decide whether you like it or not.  Although this method does often lead to a lot of 'nots' it can be less demoralising than using a proper pattern, which often works out better but may have a list of 25 steps to follow.  That's 25 (at least) things to do right, and ways to go wrong.  And I did go wrong many times- not helped by the fact that my fabric is the same front and back so I kept mixing my pattern pieces up, and sewing back to front and left to right.

But my biggest mistake came right at the start, although I didn't realise until right at the end (of part one as it turned out) I picked the wrong size pattern to cut out, doh! I looked at the size guide and it told me my waist was a 10, and my hips were an 18- which didn't seem quite right to me!  But then I realised that Butterick is American and there sizes are numbered bigger to UK sizes to their 14 would be our 10, and since Im usually a 10 I'll cut that out.  Well the pattern people must have thought ahead, or have a UK section, or not be American at all because quite clearly the finished dress was 2 sizes too big.  So I had to unpick it all, cut the pieces down to the right size, then resew. 

With all the extra sewing the pulling apart the fabric took a bit of a battering and I started to go a bit insane.  I started to hate the sight of the flowers, and pink, and my sewing maching...and was worried after all the extra work I would have something I didn't actually like.  But, thankfully, a good nights sleep- and a trip to the shop to get a zip- cured all ills and I really like it.  It's not perfect; it's coming apart a little here and there but just superficially and considering the tortured way the pieces got cut out and resewed I'm actually really pleased.   I have bought some blue upolstery fabric and blue jersey to make the dress again, I think it will look totally different.  


Thursday, 24 March 2011

Giraffe Pencil Skirt

Another pencil skirt, but decided to spice it up with some animal print.  I made a cute bag from cow print fabric my sister had bought and dsicarded several years ago, and then I stole.  And got all animal print frenzied and bought some giraffe.  I used the same pattern from before (check my other posts) and used polyester giraffe print fabric and cream cheapo lining fabric.  I spent a little bit more than I normally do on the fabric (£7.45 per meter plus postage) but its still a skirt for less than a tenner.  It was easy and quick to make, and is slightly too tight like all good pencil skirts (but who needs to sit down?).


 I was planning to wear it with a black top or vest but I tried it on with my new pink shirt (which also rocks, I watched too many stylediet videos on youtube and was informed that pink is good for my complexion, and she was wearing a pink shirt so I bought one) and enjoyed it quite a lot. :)

Saturday, 19 March 2011

Cow Cross Bag

I have some cute little clutch bags and little bags that require 'holding', in the sense of constant, conscious effort to carry them around.  Although I don't go out on the town super often I have been thinking it would be nice to have a bag of a similar size to a clutch but with a long strap to wear across my body so I dont have to carry a bag, and a drink, and wave my hands in the air like I just dont care all at the same time. :)

I had made some little practise bags with cos fabric on the outside (from when my sister, as a teenager, had wanted a cow print mini skirt but never made) and an old Debenhams work shirt for the lining, but without zip or strap.  So I made up a new one.

Et Voila:


They're super easy to make- as a purse or simple bag.  Decide how big you want your bag- for example 10cm x 10cm- and cut out two pieces in your outer fabric this size and two the same in your lining.  Then place a lining piece face up, the zip on top (lined up with the top edge of your lining), then a piece of outer fabric face down on top of that.  So you have a zip sandwich, but you shouldn't be able to see the zip :) It can be confusing to work out what should go where and which way up so pin the zip in place then flip the outer fabric over and see how it looks.  Then sew in place, then do the same for the other side of the zip. 

Then open the zip (this is important for later on).  Then move both pieces of outer fabric to one side, and the lining to the other and sew around the edges of each (the fabric will be right sides together for this).  But leave a 2" gap at the bottom of one of the side seams in the lining.   If you want any kind of strap now's the time to put it in.   For the shoulder strap on my bag above I left two gaps in the tops of the side seams in the outer fabric then I fed the strap through these holes (remember your bag is inside out as you sew it so you need to push you strap through to the other side which will become the outside) so only the very ends were visible and then sewed them into the seams. 

Now use the hole you left in the lining to turn the bag inside out, and then put the lining inside the bag.  And it should all look pretty and finished off.   You can either hand sew the hole in the lining or just leave it if its not too noticable.  But for a purse you may find money disappearing into the lining occasionally!


Saturday, 12 March 2011

Stripey Crops

Well still working on my remnant bin score of many weeks ago (had a rather busy week last week that thwarted any sewing attempts) but did managed to finish off a few of the niggly little projects that were waiting around and causing me annoyance, although Im sure Ill find new things to fix/further mess up on them eg my pink flowery dress which looks so nice in pictures and is actually a little unwearable in real life owing to all these pesky ribs I have has now been hemmed along the bottom but my brown bias binding has just arrived meaning Ill be adding that sometimes soon.

Anyway, my latest creation is a pair of green stripey cropped trousers that Im in love with.  I used the trouser block I had made myself but made short trouser.  The block worked well up to a point, but the basic trousers produced needed a lot of altering.  I'm very pleased with my crotch*, but the legs needed to be taken in several inches- I think full length trousers would have handled the wide leg look better but not for crops.  The fabric also has some stretch to it, which I didn't realise until I had made the trousers (that's just how good I am!) so I was able to pull them on and off with need for a zip. 

So I added a waistband- with the fabric going in a different direction the waistband had no stretch to it (doh) so had to be yanked on and off.  I'm not sure if the top was too big for me before this or a result of this but I quickly realised there was serious gaping at the back.  Also the back of the trousers sits much lower than the front- so I clearly need to change my pattern to have a higher back in the paper version which will produce a level back and front when wearing the fabric version. 

I unpicked the crotch and added a short zip which is enough to allow me to get them on, and the waist band still looks nice, I added a press stud to fasten it but have yet to cover that up with a button (they are defo not finished, just like everything else).  But once on they remain to big and I think Ill have to take them in at the sideseams which means unpicking the waistband and side seams.  So for now they are held up by safety pins!

My next creations- should these ever get finished- will be a grotesque wedding dress styled for an alternative wedding party for the weekend of the royal wedding and inspired by My Big Fat Gypsy Wedding which Ive not watched but seen pictures.  And a nice spring/summer box pleat dress using a Butterick pattern after I saw someone else finished product on Burdastyle recently and felt inclined to copy them.  I also want to make box pleat shorts, and more cropped trousers...

*uh oh there's one for the blooper reel!

Saturday, 19 February 2011

Dress de fleur

I can't decide whether this was a triumph or disaster, but rest assured I shall meet them both the same.  Using a pattern from the internet :
http://www.ralphpink.com/wp-content/uploads/2010/02/1950s-pleat-front-dress.pdf
for a potentially awesome full length 50s style dress, that looked simple but came with no instructions and mismarked pattern pieces, and a old duvet cover I bought in a charity shop for £1.75 I have made a dress de fleur.  I picked apart the duvet cover and had the largest pieces of flowery pink fabric EVER, laid over the pattern pieces, pinned, and cut them.  The front and back skirt pieces looked remarkable similar and although I had tried to keep track I did mix them up several times. 


As I said the pattern came with no instructions, it is actually a fairly simple cut, dart, sew but a few sentences to explain exactly which bit went where would have helped especially as I'm pretty sure the back skirt piece was marked as the front and vice versa, the front top piece was marked cut one when you really need two, and it didn't say which way around the front top piece was supposed to go.  If I were a more experience, less silly, sewer I might have been able to work that last one out (I did work out the first two) but I'm not so I didn't and the dress was made with backwards pieces.

It didn't tell you why the front top pieces were longer than the back pieces either, or how to fasten it all up but I worked out to put a zipper in the side as I got stuck in it when I tried to put it on without. Also it only came in one size, and I had to hope it would fit- it is online as a pdf which you can only print out fullsize with photoshop, so my friend managed to turn it into a paint document and I printed it out that way but there were no measurements on the pieces.

Having said all that I remain impressed that I managed to make anything remotely resembling a dress.  But I really think Ill have to turn the top pieces around, improve the facings (which go in the inside of the neck and armholes to tidy the edge and refuse to lie flat despite my burning the dress to iron them down >.<), and somehow find an extra inch of fabric to make it slightly easier to get in and out of and breathe whilst wearing it!

Still I think I pretty much rock it! Of course.  Now I'm not suggesting you say I look like Grace Kelly, just that you think it. :)


Monday, 7 February 2011

Little Orange Jacket

Well my second look from the remnant bin is a little jacket made from Orange and Red upolstery fabric; okay I didn't add sleeves so it's really a waistcoat/body warmer.  I had very little fabric to work with, and spent a lot of time woking out how I would fit the pattern pieces on the fabric to cut it out, especially since I did cut out two sleeves (and sleeves are really big btw), so its a super cropped waistcoat jacket- which may not be a thing.  I made the excellent decision to add a green lining, lining always makes clothes look more finished and professional as it hides all the messy seam crap inside.  And the green actually compliments the red of the outer fabric.

I used the basic bodice block I had made for the pattern pieces, but blocks directly correspond to your measurements making them skin tight.  So I added approx 3cm to the back piece (which is cut on a fold, so it was extended approx 6cm in total), and a similar amount to the front pieces.  But when I cut out the pieces and pinned them together it was far to small, even for my skinny little bod. So I cut out two small rectangles and inserted them under the arm joining the front and back.  I also needed to adjust the neck and armhole.  So I think I'll need to reconfigure my bodice block, and I still don't know how to effectively transform it into a pattern for another garment.  But I managed to complete something wearable, so a small pat on the back!

Not sure how I'm gonna fasten it up, I purposefully made one side of the front wider than the other so it overlaps.  But I'm not sure why, or what I'll do with it. >.<  I like the idea of using Asian fabric buttons and ties shown adjacent.


I think it'll work.  But frankly, on me, it's always gonna look hot.


Friday, 4 February 2011

Paper Bag Skirt

First make from remnant bin score (see previous post) is a paper bag skirt, so called because the top looks like a scrunched paper bag.  I saw a few how to guides:
http://www.makeit-loveit.com/2010/08/paper-bag-skirtand-hidden-mistake.html
http://www.burdastyle.com/projects/pleated-paper-bag-skirt


I used the burdastyle one because it seemed simpler, the only complicated element was working out the pleat sizes which did require some maths skills, and SEVERAL attempts at getting the pleats correct.  For every 1inch pleat you need 2 pleats of fabric meaning you use twice as much fabric, as my fabric wasn't quite twice as wide as my waist I had to space my pleats out a little.  Hence the tricky maths, I didn't understand the how to at first but once I thought about it it made more sense.  Subtract you waist measurement from your fabric length, and the amount you get is the amount you can use for pleats.  You then divide this by the size of the pleats you want to determine how many you can make- so if you have 20" of fabric left and you want 1" pleats you divide 20 by 2 (because every 1 inch of pleat requires 2inch of fabric) and the answer is 10 pleats.  Now, the more confusing bit.  To work out how much you should space you pleats out you divide your waist measurement by the number of pleats plus one e.g 33" waist divided by 11 = 3" space between pleats. Yes a calculator and some blind faith helps.

 
The skirt uses box pleats, which I enjoy, they are basically two pleats next to each other but going in different directions, and as I type this I realise that is a rubbish description and more confusing than the maths gibberish. Heres a picture:


For each box you draw 5 lines then meet line 1 and 5 with line 3.  Using the above hypothetical measurements you would space the lines apart 1",1", 3",1",1".   If you have unlimited fabric you would space them evenly one inch apart.   Once in place you pin, then iron your pleats.
Hopefully that makes sense.  But the internet is awash with pleating how tos.

Always hem your fabric before pleating though (much much easier than doing it afterwards).  For my skirt I then two lines on the wrong side of the fabric, the first about 1.5" below the top edge (aka the waist), the next line a couple of inches below that.  This is the cinch waist, so you make it as wide as you want the waist.  You then sew the pleats but only inbetween the two lines you have just drawn.  Then sew the back seam (I had to do this several times as the skirt refuse to fit, my stupid skinny waist), and add the zip.  And voila!
(and yes I am aware that it's far too short!)


Monday, 31 January 2011

Fabric Remnants Score

I would quite like a job, or some money, so that I can start buying fabric off the role, rather than foraging through the remnant bin. I see fancy sewing ladies at the fabric store, who I bet know what interfacing does, who are looking for pieces for specific projects.  It's hard for me to plan a project in advance, instead I search for cheap pieces of nice fabric and then see what I can do with them.  Without being able to plan ahead I never get the right linings, fastenings, or whathaveyous.  Which means I often end up with skirts that are essentially rectangles with zips.

But you can find nice pieces of fabric in remnant bins, in big enough pieces to make things, but small enough that they are cheap enough to buy.  And so to today, as I was in town to sign on at the job centre I thought I'd stroll across the road and spend the money I don't have at the Fab Works fabric store (awesome shop).  I foraged through remnant bin (which is mainly upolstery stuff) and found some nice stuff.  Some randomly sized pieces such as 1.4meters by 40cm, but I added it up roughly and it came to about 7m (if you glued all the scraps back into meter squares), and cost £7!. 


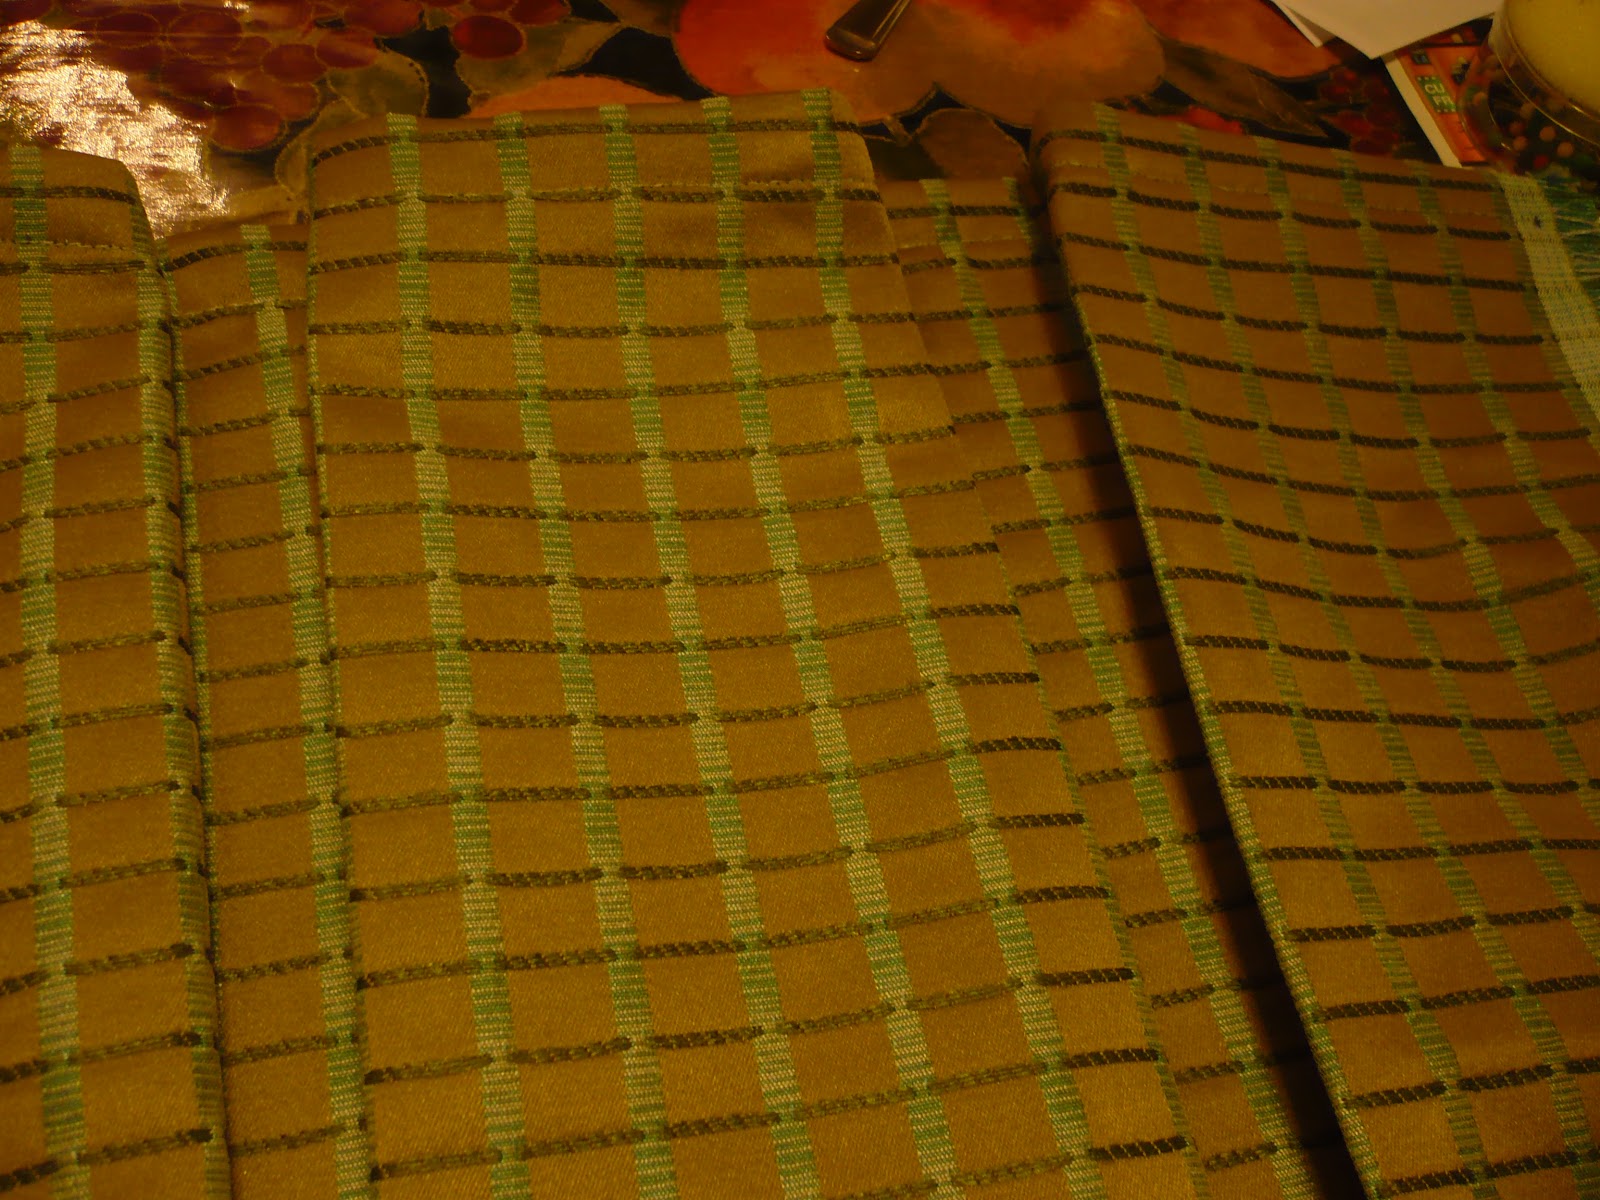
I'm plannng to make cropped trousers from the green striped on the left (it looks more green in real life), the other stuff will become three skirts (I'm gonna pair the purple and silver together as they're too short on their own and I think having a two toned skirt will be nice), and black bit is actually two pieces of black lace (one 40cms, one 1m) that I might make into a bra or the top of a bodice top I have a pattern for. 

Wednesday, 26 January 2011

Tutu!!!

I saw this great How To on Burdastyle for a Tulle Tutu and had to try it.
http://www.burdastyle.com/techniques/how-to-make-a-tulle-skirt
It's a simple method- you use a stretchy mini skirt, or make a simple one, then sew the Tulle (net stuff) all around.  I didn't have a mini skirt but when I searched for any stretchy fabric I had I found the left overs from another project.  I had cut the sleeves off a hoodie to make some sleeves (see blog post from a few months ago), and had the body of the hoodie left over.  I was wondering what I could do with it, since it seemed a shame to waste it but it had an unwashable stain on the front- so turning it into a skirt covered in Tulle seemed perfect.
 
Obviously I pulled the top on as a skirt to check it fitted me, and it did although it was quite loose in the waist.  So the first thing I did was to take in the waist, and then add elastic to it.


My elastic skills still fail to emerge and the elastic got twisted and moves around inside the wait band but it'll do. :)My next task was somewhat more labourious- according to the How To I needed 8yards (sigh did no one but me go metric?) of tulle, cut into 9inch by one yard strips.  I have plenty of tulle (another reason for making the skirt) which I bought cheaply online ages ago, in a variety of colours.  With the skirt being beige/cream I went for a cream and orange combination fo tulle.

My tulle is quite stiff and large holed, for a future project I might like to use a more delicate form of it.  Also the colours I have (not chosen by me, I bought a pre packaged pack) are quite bright and gaudy, although I do have some gold which is fancy.  To cut the tulle I first needed to cut it into 4 yards by 54" pieces (which is the size of fabric the How To lady had) before cutting those pieces into 9"strips, then cutting the strips into quarters. I could use my ruler for the 9" strips, but my tape measure is all cms baby.  So I estimated the cm equivalent for the bigger sizes, the process is defo not a super accurate one but it doesnt really matter.

One I had all my strips it was time to pin them to the skirt.  Four of the strips make one layer around the skirt (so I guess if you are a bigger size you would want longer strips?), but one strip is much longer than one quarter of the skirt because they are rooched (I don't know how to spell that!).  So the side seams split the skirt in half, and I put a pin in the front and back to split it into quarters (just so I could see where I would be pining the tulle).  The way I chose to pin it was to pin one end of the tulle strip to the side seam, and the other end to the middle pin.  The I found the middle of the tulle and pin it to the middle of the skirt quarter, then I found the middle of the skirt eighth and pinned the tulle to that, and so on.  I started at the top of the skirt and pinned the tulle pointing towards the top of the skirt- so that after sewing it would fold over nicely hiding the stiching and adding more poof. 

As you add more layers it does get fiddlier to pin the tulle, mainly it's getting you hand underneath the fabric so you pin through it (don't do what I kept doing and pin the two sides of the skirt together doh).   Also after you've added a few layers of tulle one end of the skirt will be significantly bigger and tullier than the other taking up half your table.  I found it was also tricky to pin the tulle in a stright line, and it may have been benificial, although time consuming, to draw some lines on the fabric before I started sewing. 
By the time I'd finished I'd done 9 layers of tulle, and decided this was enough.  Because of how I'd held it and flattened it when sewing the layers had got a bit scrunch so I'll need to sort them out, but I'm quite pleased really.  Now just need an event!