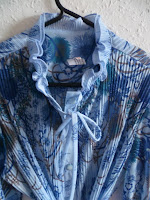
Let us learn together children. For I have been in a customising mood, and have read things on the great interwebs about using bleach to alter clothes. I had ordered a cheap t-shirt from Amazon for a few £s which I altered slightly to improve the fit. I had read a lot of blogs and whatnot about using bleach pans (stain remover pens containing bleach) to draw designs onto clothes. So I bought myself a little bleach pen and...??
Yes there's not a lot to see in those pics actually because it didn't really do anything. I reread the blogs and saw they were all American and using the same brand of bleach that doesn't seem to be available over here. I decided to switch to using a bottle of bleach, which can be bought cheaply and easily. I wanted to make a nice ombre effect.
I read as much as I could find online, then set to work. I tried to experiment in a systematic way soaking bits of fabric for varying amounts of time to see how long it needed to be left in- these experiments did not work.
And then they did.
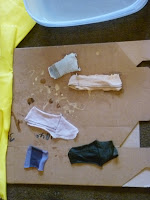 |
| Left overnight |
 |
| At the end of the second day |
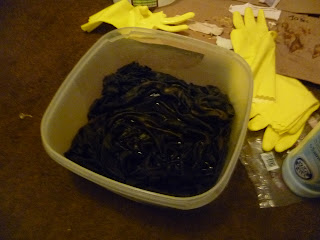
So the bleach did work on my t-shirt when left to its own devices, but these experiments were not super helpful as I knew the bleach would totally remove the colour if left over night but this was not the effect I wanted. But I had run out of fabric scraps and was low on bleach, so I poured the rest of the bleach in my bowl and draped the bottom of my t-shirt in there. I decided to leave it in there for 30mins, then drape more of the shirt in for another 30mins, then the last section for 30mins (you see the pattern there).
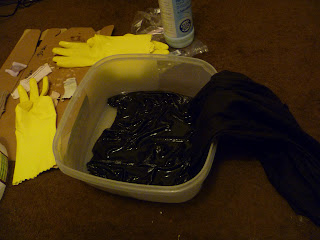 |
| One third submerged |
 |
| Interesting bleach pattern emerging |
|
|
|
 |
| Two thirds submerged | |
|
 |
| Fully Submerged |
|
 |
| Rinsed Out |
|
 |
| Hung to Dry |
|
Well the effect is clearly not ombre- closer to tie-dye by accident. I like the result but am not sure how I came by it, so it'll be interesting to see if I can recreate this, or actually produce the desired ombre look (cos maybe I don't want all my shirts to look the same?). It's odd that the bottom third is the darkest and least bleached when it was submerged for the most time, but I had run low on bleach and submerged may not be the correct term. Boyfriend suggested that the bleach may need to react with oxygen, to explain why there are strongly bleached lines at the level where the bleach met the air when the shirt was half in half out of the bleach.
I don't think I have the finished product though, I'm not happy with the t-shirt shape and will probably cut it into a tank before I wear it.
Tips
*Wear rubber gloves and old clothes.
*Remember bleach wont turn your clothes white unless you soak it for hours (and if you wanted a white shirt you should have bought one silly)- as you can see the bleach turned bits of my brown shirt slightly peachy, and gave the shirt a green colour overall.
*Use a big enough bowl- although I guess the pattern on mine was probably caused by the squat bowl I used.